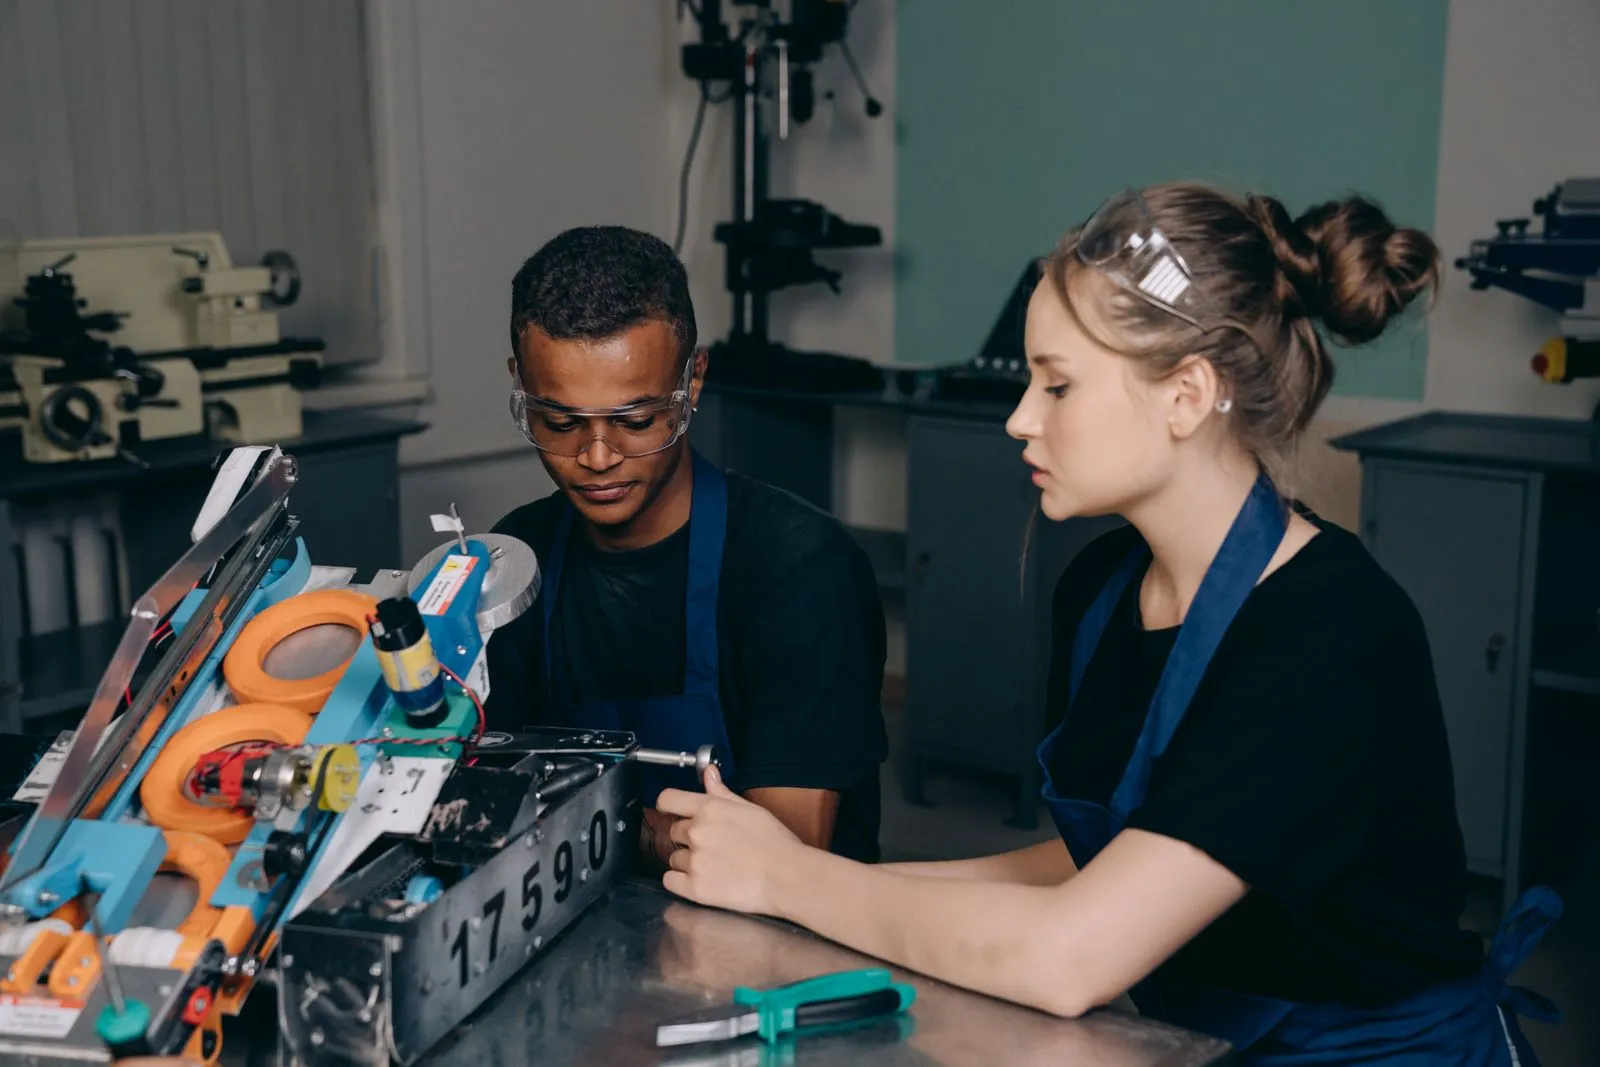
A robot that suddenly stops moving can have a simple cause: a drained battery, loose connector, stalled motor, or command the program never sends. Start with the easiest checks before taking anything apart. Turn the robot off before touching wiring or moving parts, and keep wheels or arms clear when testing. Work through power, connections, motors, and code one at a time. Changing only one thing between tests makes it easier to spot the fault and avoid creating a new one.
Check the Power First
Make sure the battery is charged and seated correctly. Check its voltage with a meter if you have one, and compare the reading with the battery’s rated voltage or your robot’s documentation. A battery can show some charge yet drop too low under motor load. If the robot uses a switch, confirm it is fully on; also inspect the battery holder and power connector for looseness or corrosion.
Look for signs of a power problem, such as a controller that resets when the motors start or indicator lights that dim. Disconnect accessories that are not needed for a basic test, since they may draw power. If you use a bench supply, set its voltage and current limits to match the robot’s requirements. Never bypass a fuse or use a battery with swelling, leakage, or damaged wiring.
Inspect Wiring and Connections
With power off, follow the route from the battery to the motor driver and controller. Check that each plug is fully seated and that wires have not pulled free from screw terminals. Look for pinched insulation, bent connector pins, frayed strands, or solder joints that move when lightly touched. Compare the wiring with the robot’s diagram, especially if anything was recently changed or repaired.
Check polarity and connector placement before turning the robot back on. A motor connected to the wrong driver output may spin in the wrong direction, while a loose ground connection can cause inconsistent behavior. If you find a damaged wire, replace or properly repair it rather than holding it in place for a test. Secure wires away from wheels, gears, and linkages that could catch them.
Test the Motors and Driver
Raise the robot so its wheels or tracks cannot push it across the bench. Turn power off and rotate each wheel or shaft by hand, if the design allows. A wheel that binds may point to a jam, tight belt, misaligned gear, or debris. Remove obstructions and check that the motor mount and drivetrain move freely before testing power again.
If the mechanism turns freely, test one motor at a time using the controller’s simplest safe command or a suitable motor tester. Keep the test brief and watch for unusual noise, heat, or a burning smell. If a motor works from one driver channel but not another, inspect the driver channel and its connections. If it fails on every channel, the motor, its cable, or its internal brushes may be at fault.
Review the Control Code
Confirm the controller starts the program you expect. Check for startup errors, a missing upload, or a connected device that is blocking the control loop. Then verify that the code sets the correct motor pins and driver mode, and that the movement command actually runs. A condition that never becomes true, an incorrect sensor reading, or a stop command can prevent motion even when the hardware is sound.
Reduce the program to a short test that commands one motor at low speed for a brief period, then stops. Confirm that the selected pins match the wiring and that the code uses the driver’s required direction and enable signals. If the test works, add sensors and other behaviors back one at a time. Keep a note of each change and result so you can identify which part of the program affects movement.
Troubleshoot in order: verify power, inspect connections, test the drivetrain and motors, then simplify the code. Stop if you find damaged batteries, overheating parts, or wiring you cannot identify. Make one change at a time and retest with the robot secured. If you want a place to compare notes and work through a repair with other adult hobbyists, Kelowna Robot Club offers a local robotics community.